The Guest List Manager is a webpage that allows group hosts to manage their own guest list. Each host has a unique Guest List Manager. This includes people who manage the same table, so it’s important to keep that email. The event contacts can send you a new host manager if it is lost.
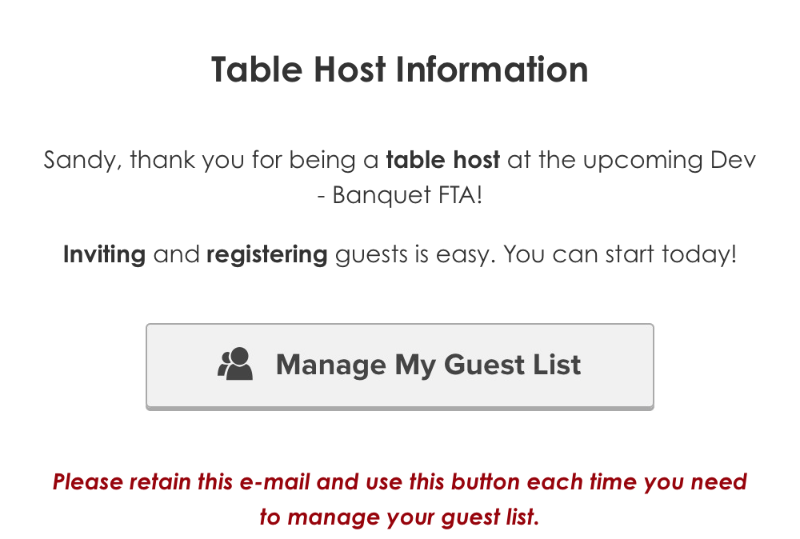
To get started, click the Manage My Guest List button in your email.
Inviting your friends
Send an invitation to your friends so they can register to the event or decline the invitation. When your guests Accept or Decline from your invitation, they will automatically be marked as responded.
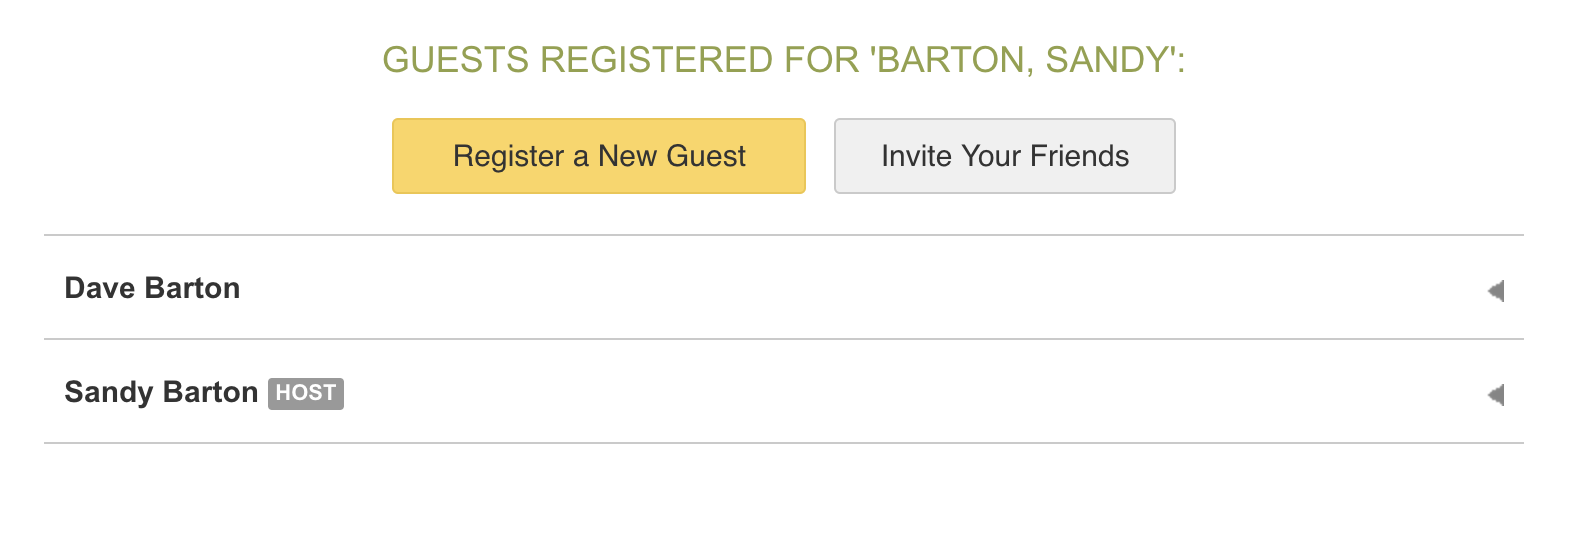
- Click Invite Your Friends in the Table Host Manager to open the the Invite Your Friends page
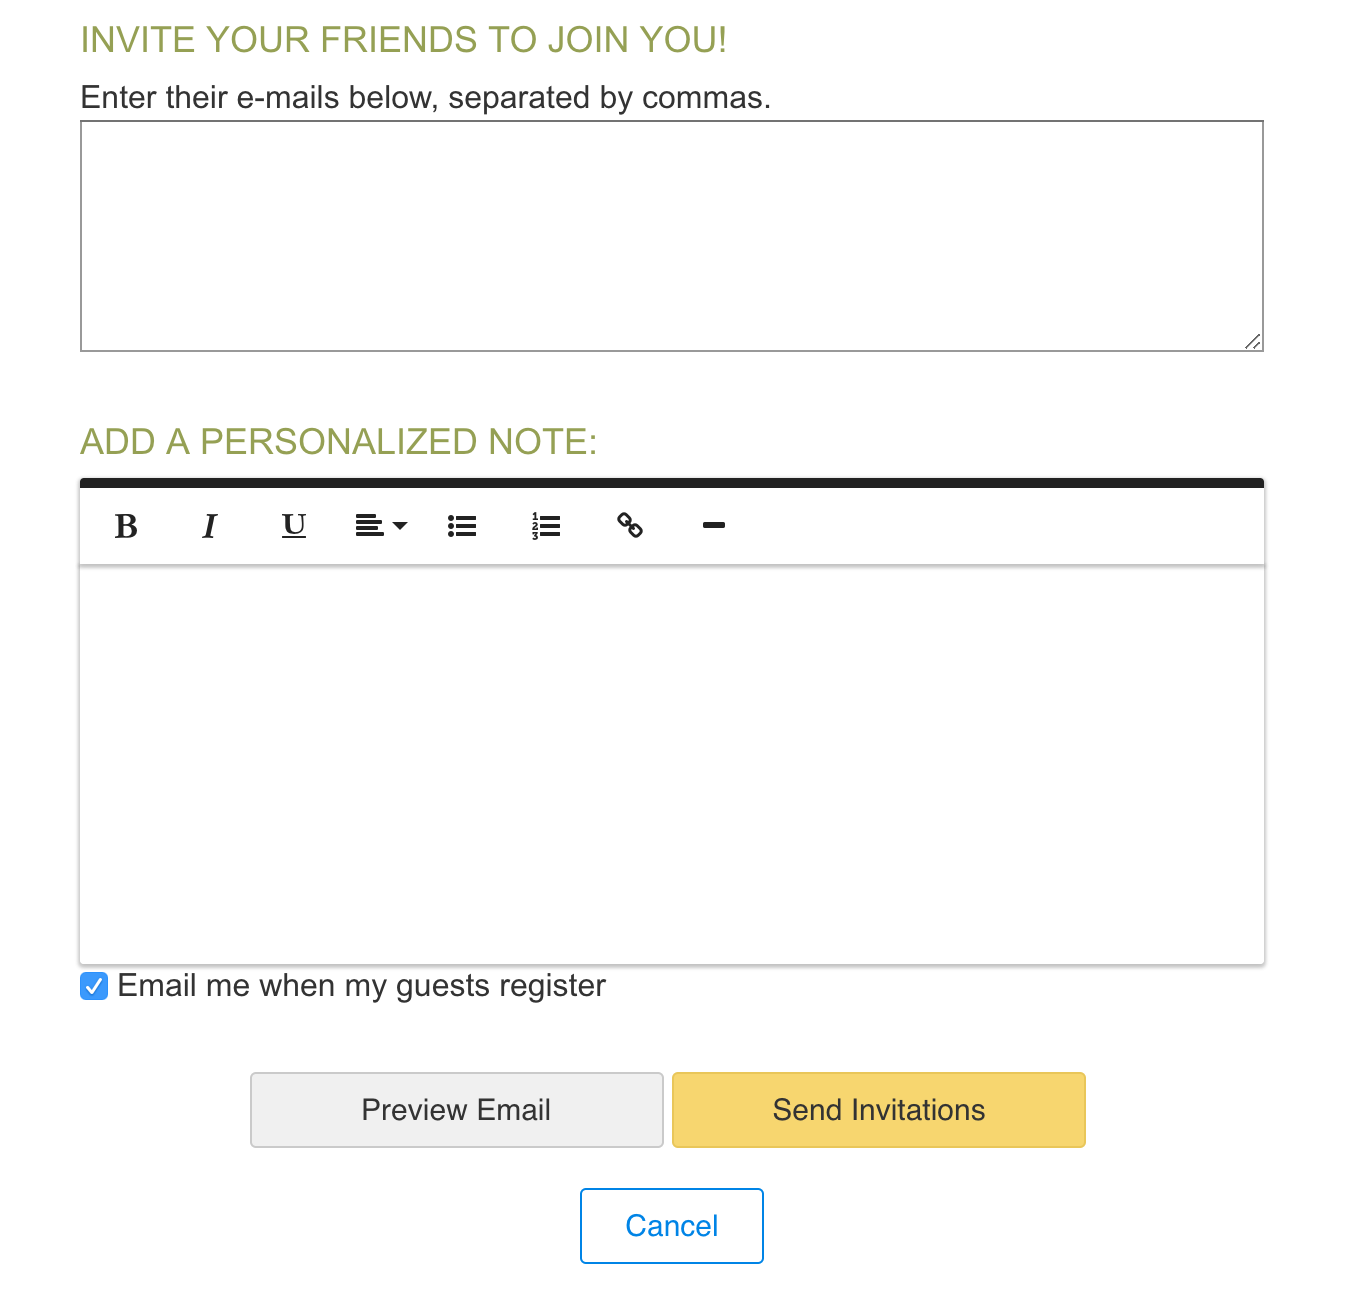
- In the top text box of the form, enter in one or more email addresses of people to invite (addresses must be separated by commas). Only 50 invitations can be sent at a time.
- In the second text box, write a personal note encouraging invitees to come.
- Click Preview Email to see what the email will look like. If your personalized note doesn’t appear, your event contact may have removed the Invite Note variable from the invitation template. Contact them for more information.
- Check Email me when my guests register to be notified when these invitees register.
- Take one of these two actions:
- Click Cancel if you do not want to save this information.
- Click Send Invitations to complete the process.
- Once you have sent invitations, click View Sent Information Details to see your invited list. From here you can:
- Use the Invite Again button to resend invitations to any of the email addresses that are checked on the list
- Use the Send Email button to use your email software on your computer (not a web version) to send a follow-up email.
Registering Guests
You can also register your guests to the event from your Guest List Manager
- Click Register a New Guest. This will take you to the registration form.
- Your group will automatically be selected in the Group Host List on the registration form, so your guests will added to your group.
- If you have paid for your guests, you may need to choose a registration option for registering a guest of a host.
- If you added their email address, they will receive a confirmation email. If you don’t know their email address, use noemail@ministrysync.com to skip a required field.
Update Guest Registration Information
Click the caret (triangle) to the right of your guest's names to edit their registration.
- Click Edit Registration to edit basic information for your guests, such as name, contact information, and some extra registration information from your Guest List. Meal choices can only be updated through your event contact. Please let them know if your guests have changes to their meal choices (if offered).
- Click Cancel Registration if your guest can no longer attend.
Updated 08.21.2017


