Sometimes you will need to add and display an Event Sponsor without a logo or business card to upload. Event Sponsors do need an image uploaded to be displayed, but it's easy to make one using just the sponsor name!
If you are comfortable with any image editing software (even Microsoft Paint will work just fine), you can just create a textbox with the sponsor's name in a new file and save the file as an image (JPG, PNG, or GIF). That file can be uploaded to display the sponsor name on your templates.
If you are not comfortable with or don't have an image editing software, you can use any word processor (Microsoft Word, Pages, OpenOffice, etc)!
- Open your word processor and type your sponsor name on a blank document. You might want to hit the Enter key a few times and center it to make sure there is plenty of white space around your sponsor name.
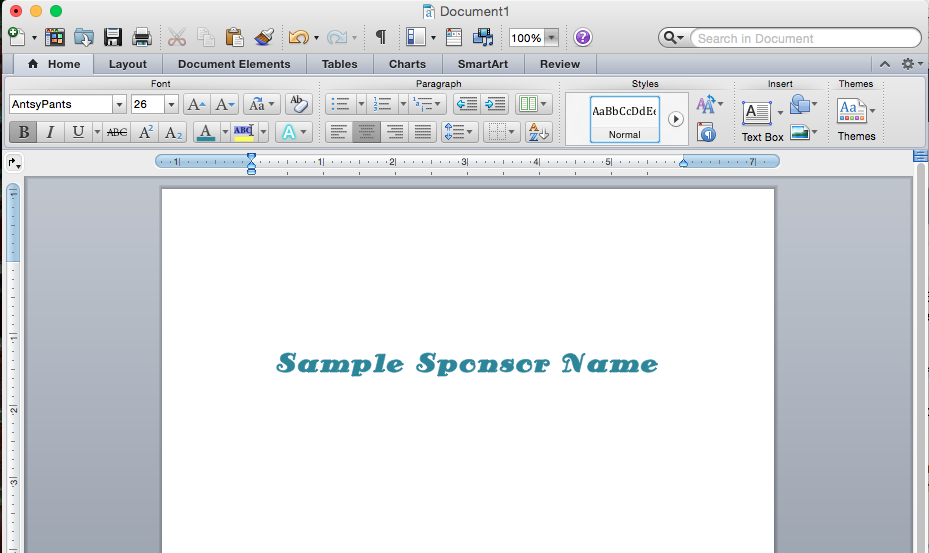
You can format your text any way you would like with fonts, colors, size, etc. - Once you have it formatted, you just need to take a screen capture of the name.
On a Windows computer (instructions are for Windows 7):
- Open Snipping Tool by clicking the Start button
 . In the search box, type Snipping Tool, and then, in the list of results, click Snipping Tool. You will get a box that looks like this
- Click the arrow next to the New button, select Rectangular Snip from the list, and then select the area around your sponsor name on your document.
- After you capture a snip, click the Save Snip button in the mark-up window. Choose a file name and location and click Save.
- From your Event Details or Event Information section in Ministry Sync, add a new sponsor and browse for the file you just saved.
On a Mac computer (any OS version):
- Press Command (⌘)-Shift-4. You'll see that your cursor changes to a crosshair pointer. Move the crosshair pointer to where you want to start the screenshot and drag to select an area.

- When you've selected the area you want, release your mouse or trackpad button. The file will be saved as a PNG on your desktop automatically.
- From your Event Details or Event Information section in Ministry Sync, add a new sponsor and browse to your desktop for the file you just created.
- Open Snipping Tool by clicking the Start button
Other articles you might enjoy:
Add Event Sponsors